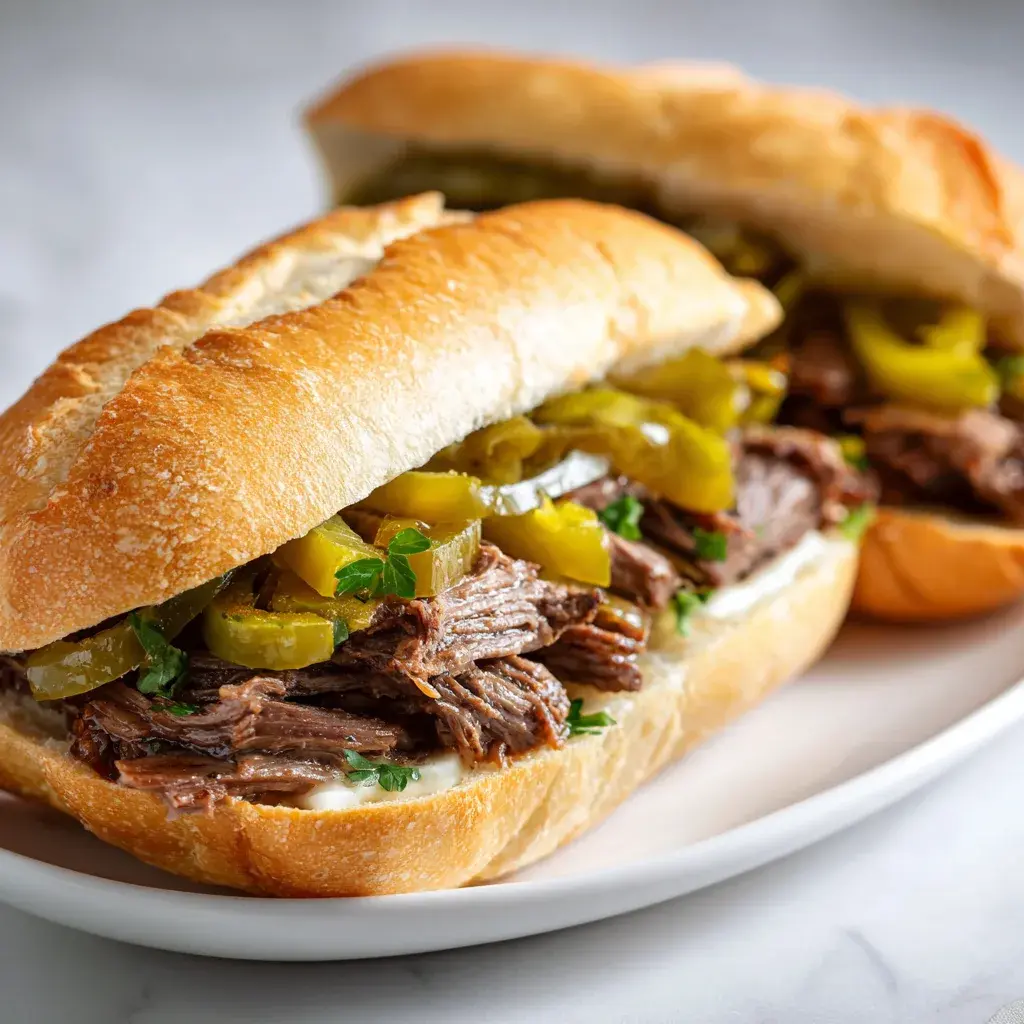

Ten ingredients and about three hours and twenty minutes, most of it the dough rising and the loaf cooling.
There are two separate herb additions: one kneaded into the dough, and one in the garlic butter brushed over the crust at the end.
Why This Recipe Works
- Bread flour gives the dough enough strength to hold an open, airy crumb.
- Kneading the herbs into the dough is what puts green flecks all through the inside.
- A pot preheated for half an hour traps steam, which is what blisters the crust.
- Taking the lid off for the last stretch turns that crust deep golden and crackly.
- Brushing garlic butter on a hot loaf lets it soak in rather than sit on top.
Ingredient Notes
- Bread flour
- Three and a quarter cups. Its higher protein gives the dough the strength for an open crumb and a high rise in the pot.
- Parsley, chives and thyme in the dough
- Two tablespoons, one tablespoon and one teaspoon, all chopped and kneaded in. These are the green flecks through the inside of the loaf.
- Melted butter with grated garlic
- Two tablespoons with two cloves, finely grated. This is where the garlic of the title lives — brushed over the hot crust, not in the dough.
- Chopped parsley for the top
- One tablespoon, stirred into the garlic butter. It is the heavy green fleck across the glossy top.
How to Make It
Flour, salt, yeast, water and herbs mixed, kneaded until elastic
Mix flour, salt, yeast, water, parsley, chives and thyme until a shaggy dough forms. Knead 6 to 8 minutes until elastic.
Covered and risen about ninety minutes until doubled
Cover and let rise about 90 minutes, until doubled.
Shaped into a tight round on parchment, proofed thirty minutes
Shape into a tight round, place on parchment, cover, and proof 30 minutes.
A covered Dutch oven heated to 450°F for at least thirty minutes
Place a covered Dutch oven in the oven and heat to 450°F for at least 30 minutes.
Baked twenty-five minutes covered, then fifteen to twenty uncovered
Lower the dough into the hot pot, cover, and bake 25 minutes. Uncover and bake 15 to 20 minutes more until deeply golden and crackly.
Brushed with garlic-parsley butter, cooled at least forty-five minutes
Mix melted butter with grated garlic and parsley. Brush over the hot loaf, then cool at least 45 minutes before tearing or slicing.
Herbs Inside, Garlic on Top
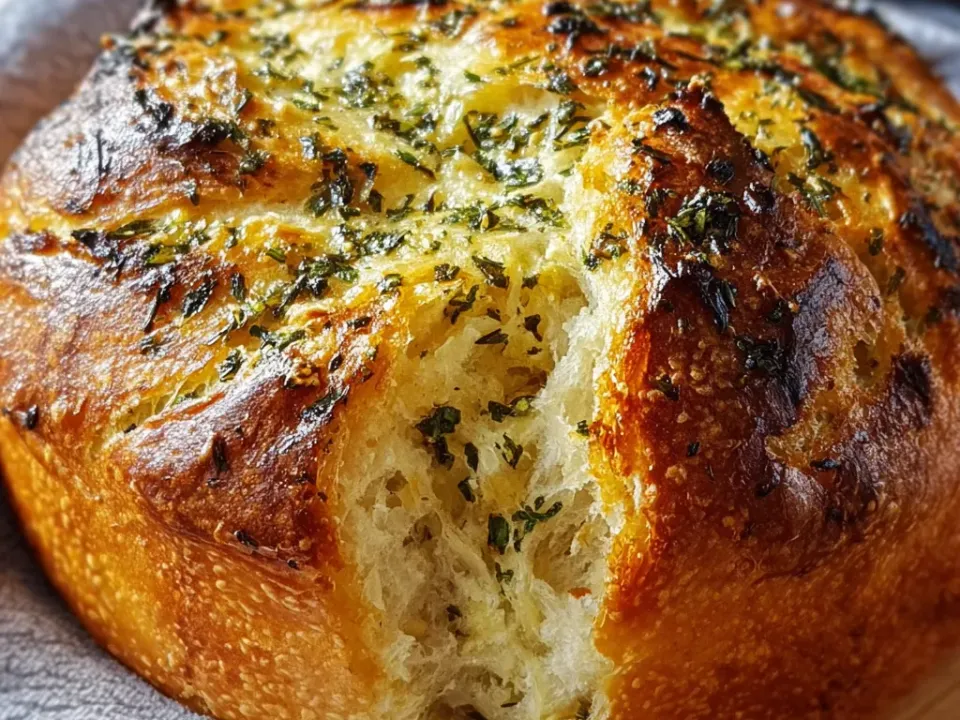
The photograph of this loaf raises three questions: is the glossy top cheese, where is the garlic, and where is the Dutch oven? The top is GARLIC-HERB BUTTER, NOT MELTED CHEESE; the garlic is grated into that butter; and the loaf is baked in a preheated covered pot. That puts the recipe in two halves - herbs in the dough, garlic after the oven.
Stage 1 of 5
The DOUGH - and the herbs go INTO it
Steps 1–1 of 6
3 1/4 cups BREAD FLOUR, 1 1/2 tsp FINE SEA SALT, 2 tsp INSTANT YEAST, 1 1/3 cups WARM WATER, 2 tbsp PARSLEY, 1 tbsp CHIVES and 1 tsp THYME mixed UNTIL A SHAGGY DOUGH FORMS, then KNEADED 6 TO 8 MINUTES UNTIL ELASTIC. The herbs are kneaded in rather than folded at the end, which is why the torn loaf shows green flecks right through the crumb and not only on the crust.
- Flour, salt, yeast, water and herbs mixed, kneaded until elasticMix flour, salt, yeast, water, parsley, chives and thyme until a shaggy dough forms. Knead 6 to 8 minutes until elastic.
Stage 2 of 5
Two rises - ninety minutes, then thirty
Steps 2–3 of 6
RISEN ABOUT 90 MINUTES, UNTIL DOUBLED, then SHAPED INTO A TIGHT ROUND on parchment and PROOFED 30 MINUTES. The tight shaping is what makes it a boule rather than a flat loaf - surface tension holds the dough up as it springs in the pot.
- Covered and risen about ninety minutes until doubledCover and let rise about 90 minutes, until doubled.
- Shaped into a tight round on parchment, proofed thirty minutesShape into a tight round, place on parchment, cover, and proof 30 minutes.
Stage 3 of 5
The POT - 450°F, and preheated EMPTY
Steps 4–4 of 6
A COVERED DUTCH OVEN in the oven at 450°F FOR AT LEAST 30 MINUTES before the dough goes near it. The heavy walls and lid hold the loaf's own steam around it for the first half of the bake, which is what lets it rise fully and blister. For safety from here on: HEAVY OVEN MITTS for the pot and the lid, WHICH REMAIN DANGEROUSLY HOT AFTER BAKING.
- A covered Dutch oven heated to 450°F for at least thirty minutesPlace a covered Dutch oven in the oven and heat to 450°F for at least 30 minutes.
Stage 4 of 5
Covered, then UNCOVERED
Steps 5–5 of 6
LOWERED INTO THE HOT POT, COVERED, BAKED 25 MINUTES, then UNCOVERED AND BAKED 15 TO 20 MINUTES MORE UNTIL DEEPLY GOLDEN AND CRACKLY. Lowering it in on the parchment keeps hands away from a 450°F rim. The lid-on stage makes the rise; the lid-off stage makes the deep golden crackled crust.
- Baked twenty-five minutes covered, then fifteen to twenty uncoveredLower the dough into the hot pot, cover, and bake 25 minutes. Uncover and bake 15 to 20 minutes more until deeply golden and crackly.
Stage 5 of 5
The GARLIC - in butter, on a HOT loaf
Steps 6–6 of 6
2 tbsp MELTED BUTTER mixed with 2 FINELY GRATED GARLIC CLOVES and 1 tbsp CHOPPED PARSLEY, BRUSHED OVER THE HOT LOAF. Hot matters - the crust drinks the butter in and the grated garlic softens against it, which is the glossy golden layer - butter, not cheese. Then COOLED AT LEAST 45 MINUTES BEFORE TEARING OR SLICING, because the inside is still setting.
- Brushed with garlic-parsley butter, cooled at least forty-five minutesMix melted butter with grated garlic and parsley. Brush over the hot loaf, then cool at least 45 minutes before tearing or slicing.
Success Tips
- Give the empty pot the full thirty minutes; a cool pot gives a pale, soft crust.
- Lower the dough in on its parchment so your hands stay clear of the hot walls.
- Let the loaf cool the full forty-five minutes — the crumb is still setting inside.
Serving Ideas
One round rustic loaf with a deep golden blistered crust and a glossy garlic-herb butter top, torn open to show an airy herb-flecked crumb, for ten to twelve slices.
Frequently Asked Questions
Is that melted cheese on top?
No. The glossy golden layer is melted butter with finely grated garlic and chopped parsley, brushed over the loaf while it is still hot.
Why isn't the garlic in the dough?
It goes in the finishing butter instead. Brushed onto the hot crust, the grated garlic softens and perfumes the top without burning in a 450°F oven.
Do I really need to preheat the Dutch oven?
Yes, for at least 30 minutes. The hot, covered pot is what traps steam and blisters the crust. Use heavy oven mitts for both the pot and the lid.